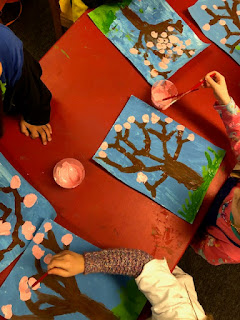
We began by painting grass along the bottom of the blue pieces we made last week. We needed some earth in which to plant our trees. I demonstrated a few techniques to create the grass and then the children followed their own inspiration.
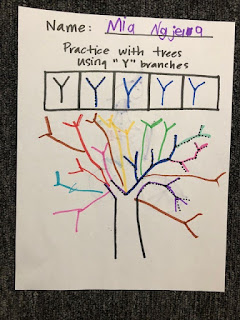
Next we began work on our trees. The work we did last week sketching trees was useful to us. I did a quick demonstration to illustrate how to approach the painting of the tree. We started by discussing the trunk - how it tends to taper outward at the bottom as the roots stretch into the earth. Then we looked at the branches - and again utilized the shape of the capital "Y" to make sure our trees were growing and stretching toward the sky.
And finally, we added pink cherry blossoms to our trees. Many children chose to add blossoms both on the tree and falling (or fallen) to the ground. The falling blossoms gave a nice feeling of aliveness and movement.
These pieces came out beautifully. Each one so spirited and unique to the child who created it.


