Wednesday, March 29, 2017

Cherry Blossoms

This week we completed a fun spring-y project.

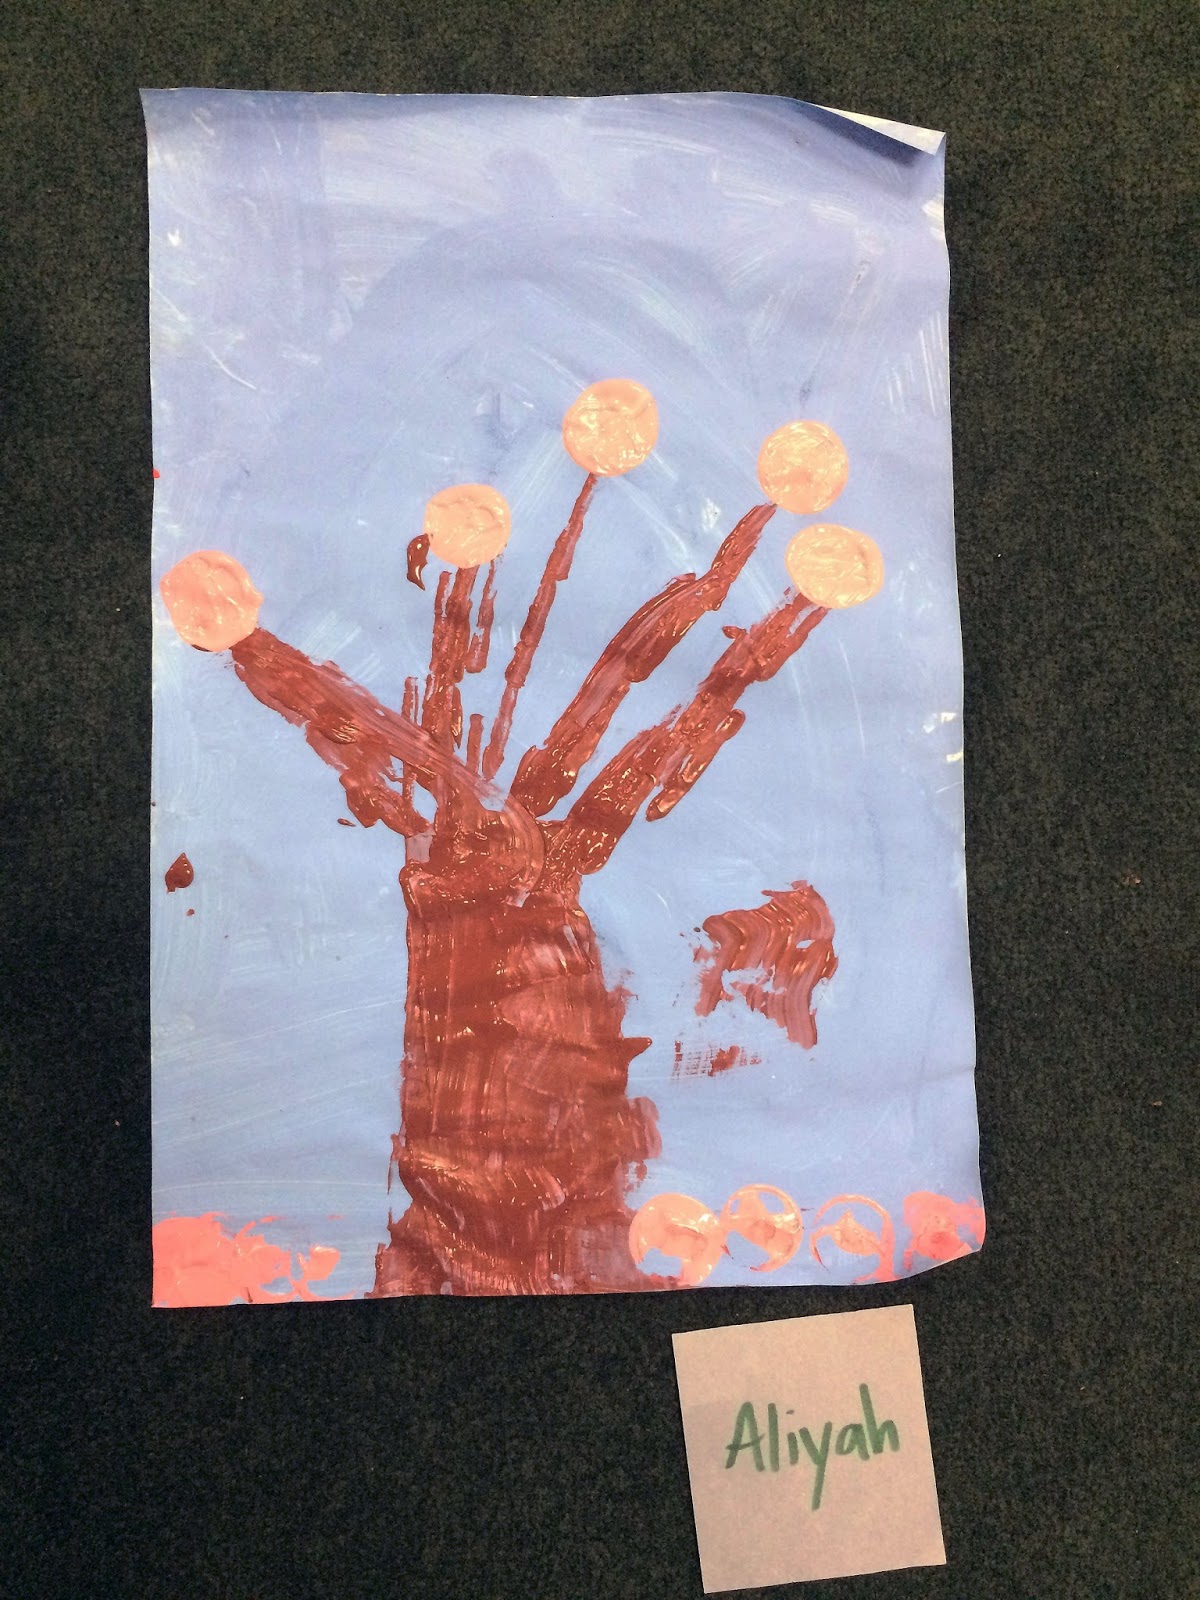
Last week, after finishing up our sunsets, the kids prepped a background for their cherry tree paintings. This just meant using our largest paintbrushes to paint a big white piece of paper a pretty light blue.

This week, with the light blue papers dry, we were ready to add our cherry trees. We began by using squares of cardboard as tools for printing. The kids dipped the edge of their cardboard into brown paint then pressed those edges onto the paper to create the trunk of a tree. This was followed by carefully printing the branches on.


Last (but not least), the kids used empty thread spools to add bright pink cherry blossoms to their trees.


These trees have so much personality! Hope you enjoyed them!


Tuesday, March 21, 2017

Sunset Landscapes

Today we worked on drawing, tracing and painting skills!

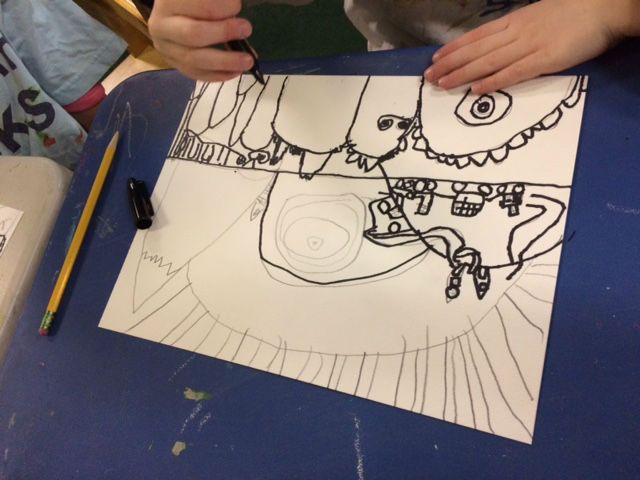
We began by working together on a landscape sketch. Beginning in the foreground (at the bottom of the page), we added large overlapping flowers. Behind flowers these we added rolling hills. Then finally we added a large sun with rays in the far background. The kids were then encouraged to add their own unique patterns and designs to each of the sections.

After completing their drawings, the kids used permanent markers to carefully trace their drawings. Then they added color using watercolors!


The kids were encouraged to paint slowly and carefully and to add color with care. Many of the kids used the tops of their watercolor sets as a place to mix their own colors. Very exciting!


Hope you enjoyed these! Next week we will be celebrating spring by making our own cherry blossom trees!


Tuesday, February 28, 2017

Spring is Here! Still Life with Flowers

Usually at this time of year we would be working on the last of the winter themed projects, but with the weather so warm and the daffodils coming up, I decided it was time to skip ahead to spring!

Today we worked on drawing a still life: a vase with flowers.

We began the project with the kids following my instruction to draw a vase and a few flowers. Once they got warmed up, they were given free reign to create their own flowers any way they chose. The only thing I insisted on was that they add at least 5-7 flowers to create a nice full bouquet.


Once they felt their compositions were complete, they added color using colored pencils.
Welcome Spring!!


Bees in the Hive: Multi Media

Last week we finished the "Bees in the Hive" project that we began before break.

During the previous class the kids did the first two steps of the project.

1. Painting the background page orange (when dry, this would be transformed into the hive).
2. Drawing bees in two ways.
  1. First the kids drew bees and added all the details with black oil pastel. They painted over these bees with yellow water color.
  2. Then they drew bees with yellow oil pastel and painted over them with black paint. These are the most fun to watch because the bees really POP into existence when the black paint hits the paper. You can see from the final work how bright and vibrant they are.
Now the fun began. With all of the work dry we began by creating the hives. Each child was provided with a rectangle of bubble wrap, a cup of yellow paint (honey colored!) and a large paintbrush. They covered the "bubble side" of the bubble wrap with paint and then flipped it over and gently printed it on the orange paper.


While these were drying the kids cut out their bees.

Then they glued them onto their hives!


Here are the final pieces. You can see them hanging together in the main hall at MMS!